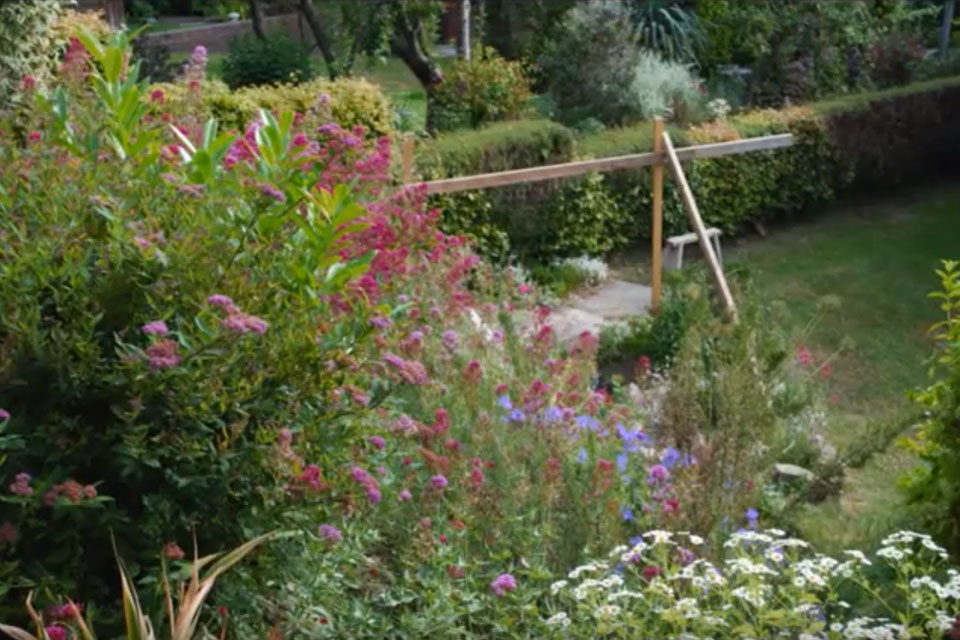
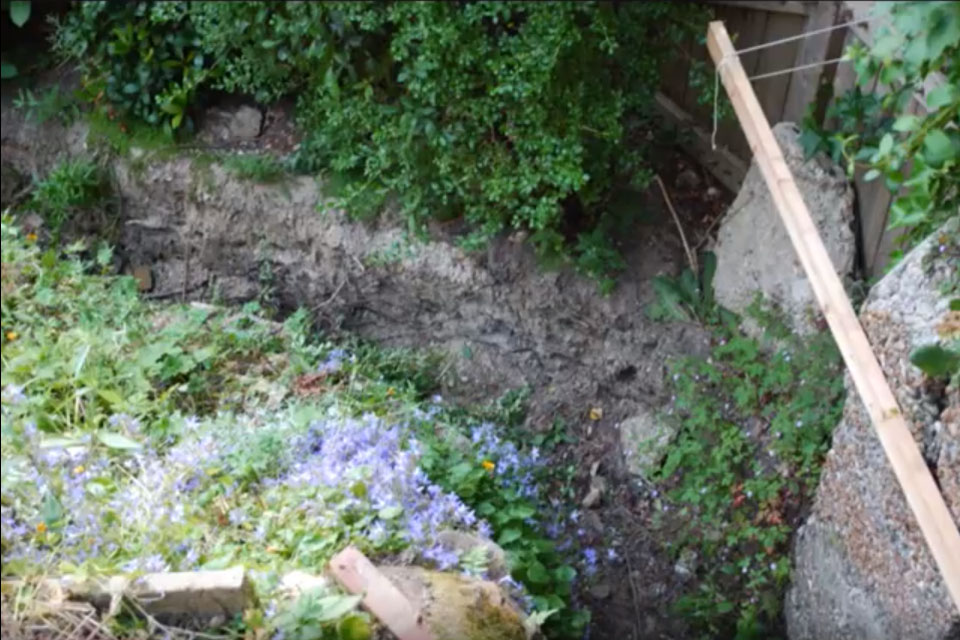
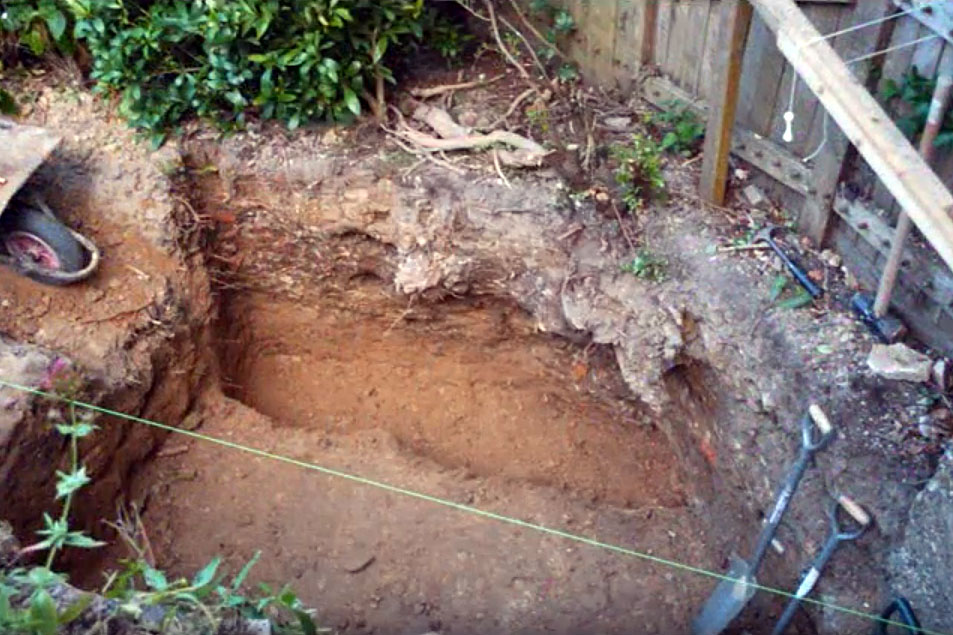
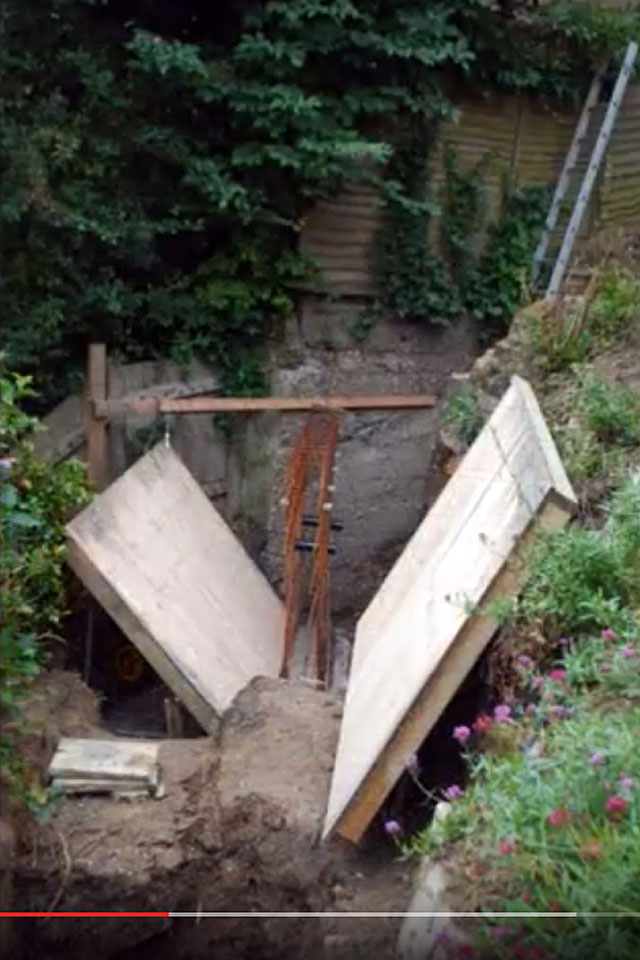
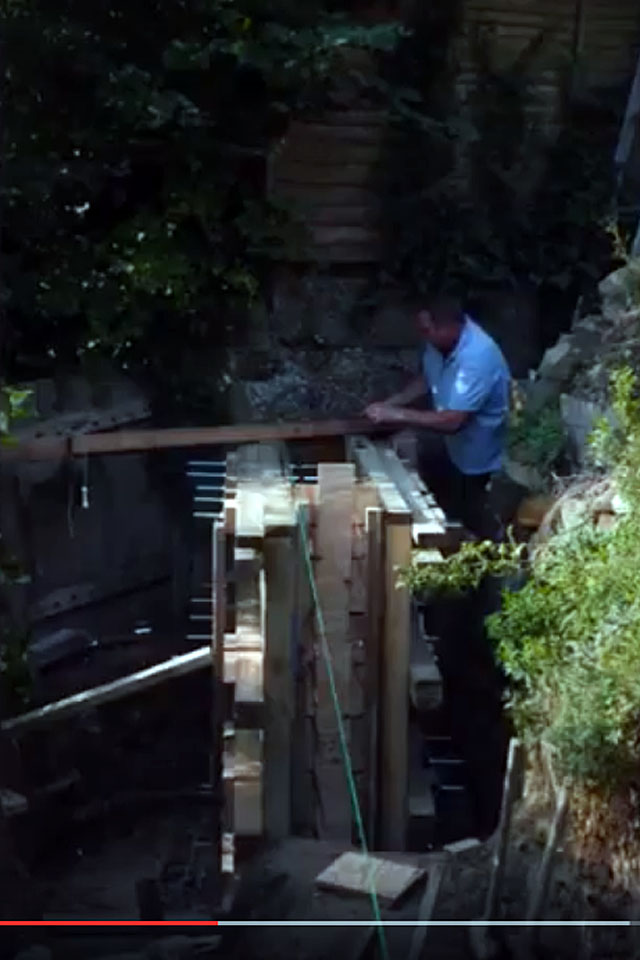
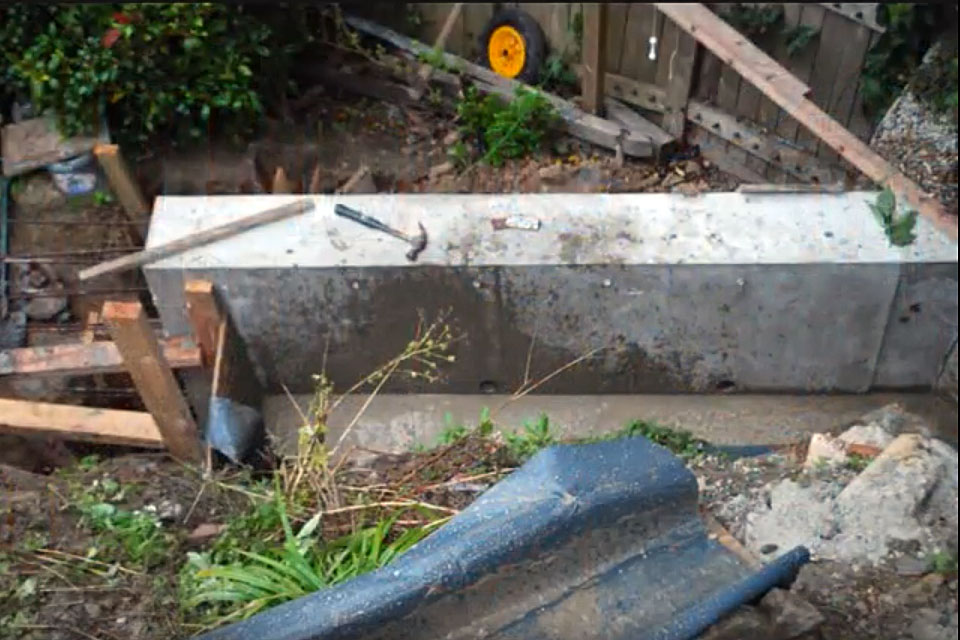
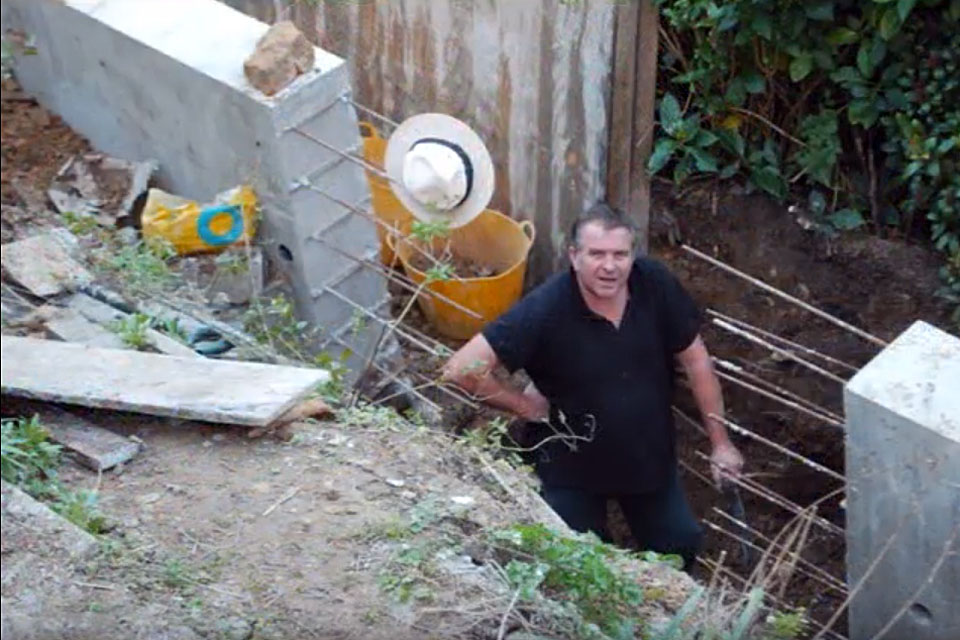
The two pictures below show the original steps in their undermined state.
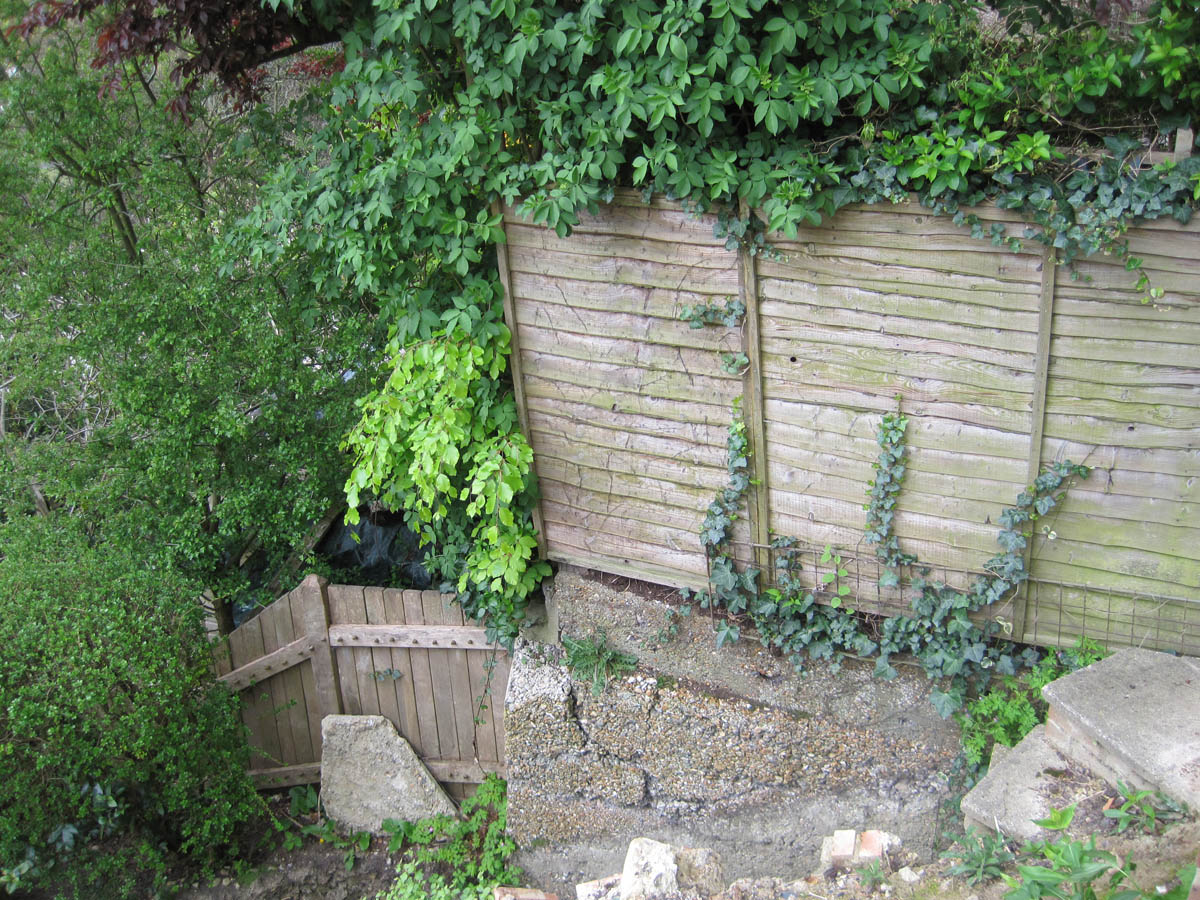
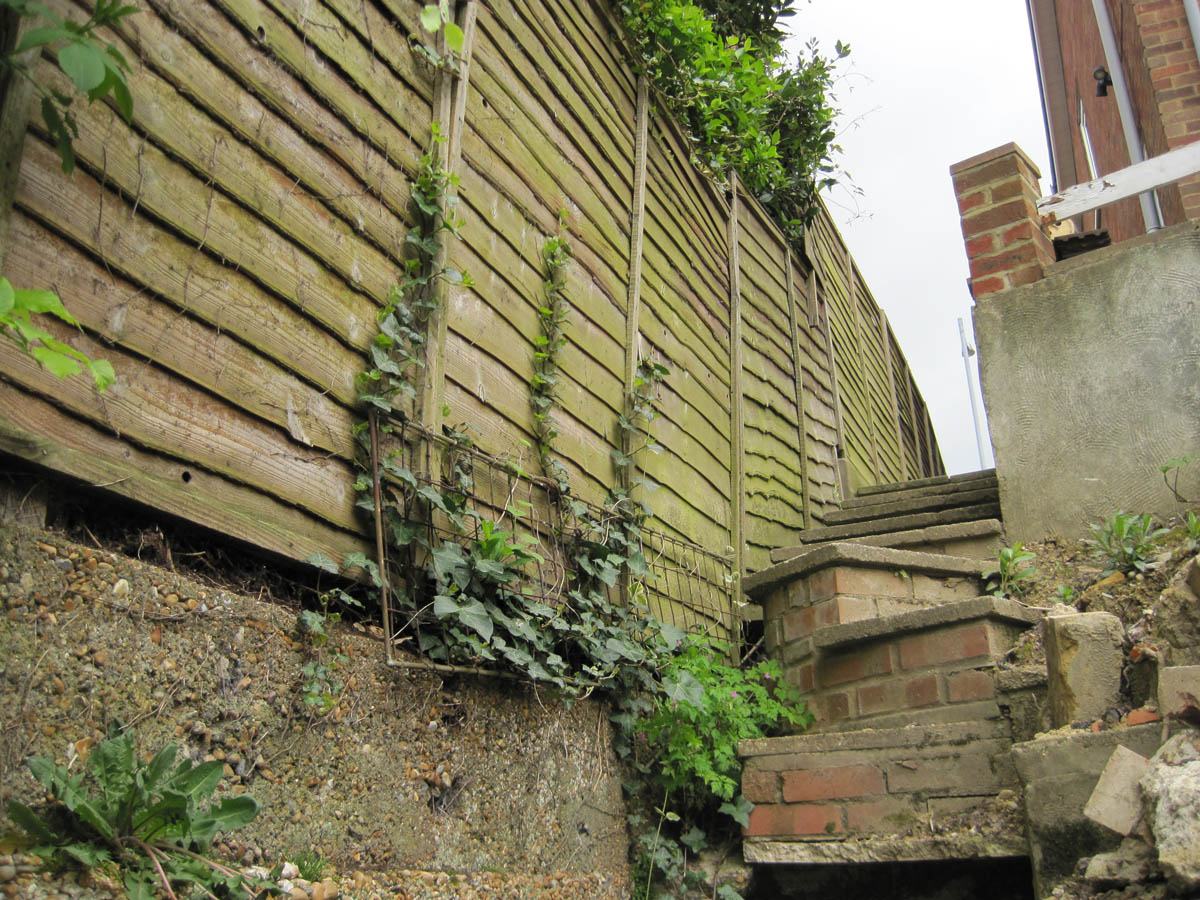
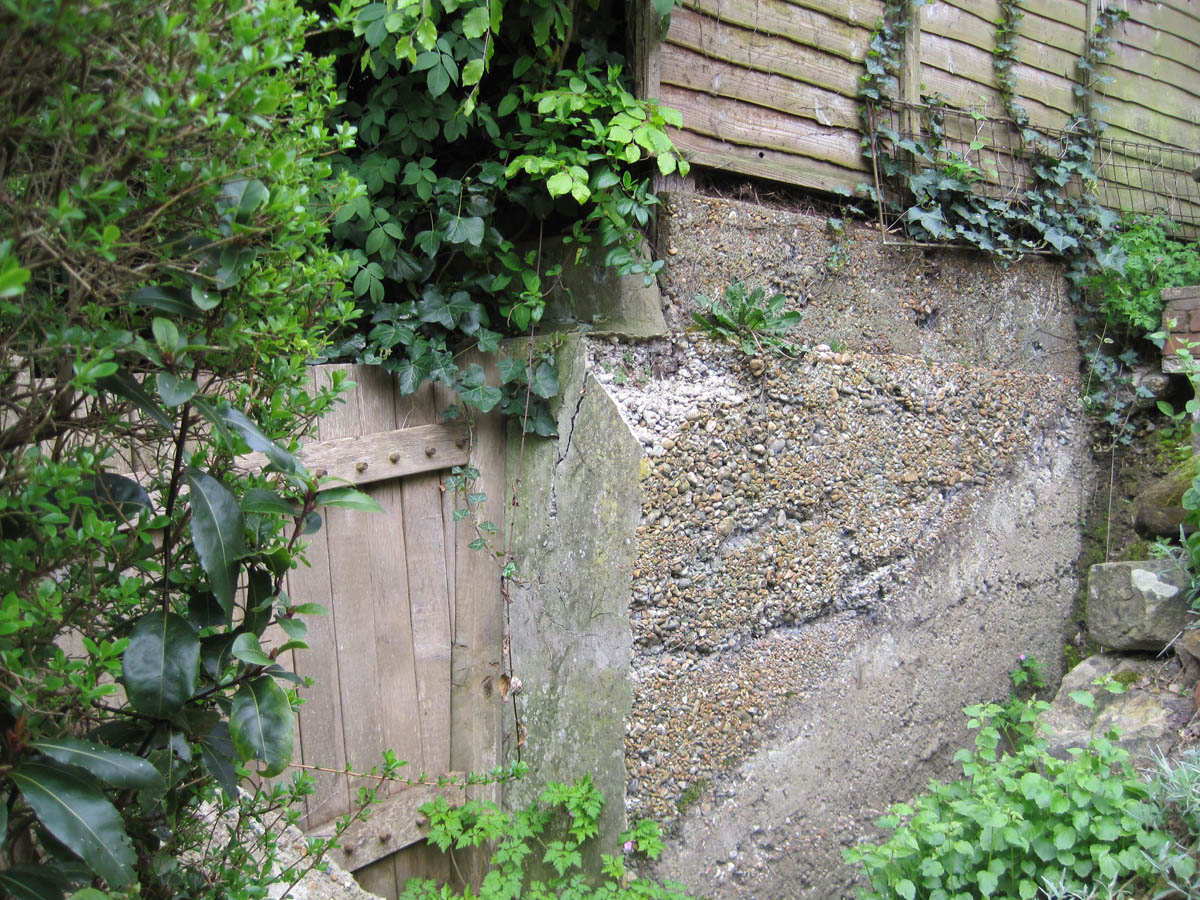
The adjacent retaining wall with its week lean mix make up.
A profile board with nails at key positions for straining the building line in order to drop plumb bobs.
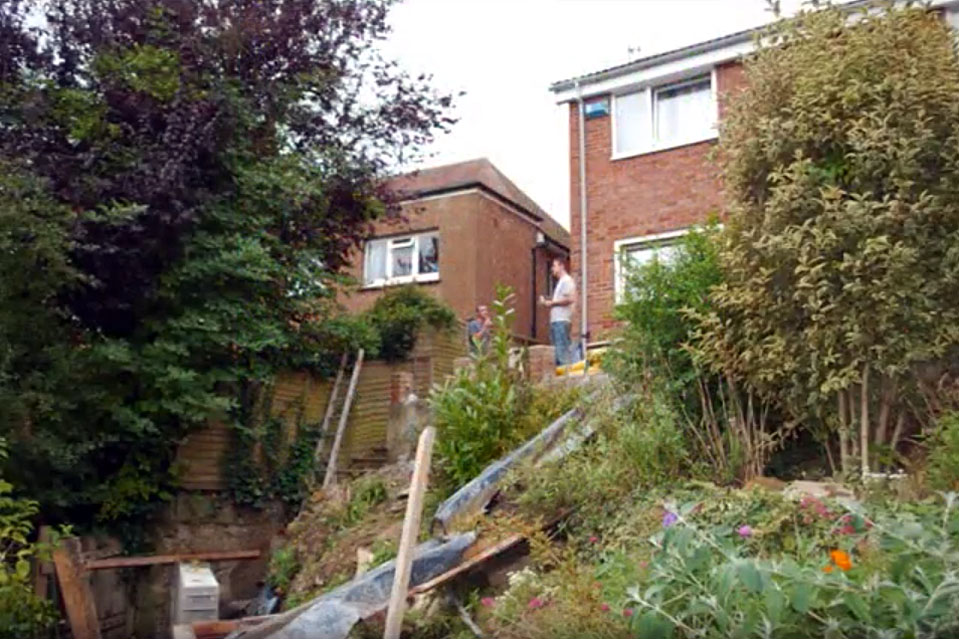
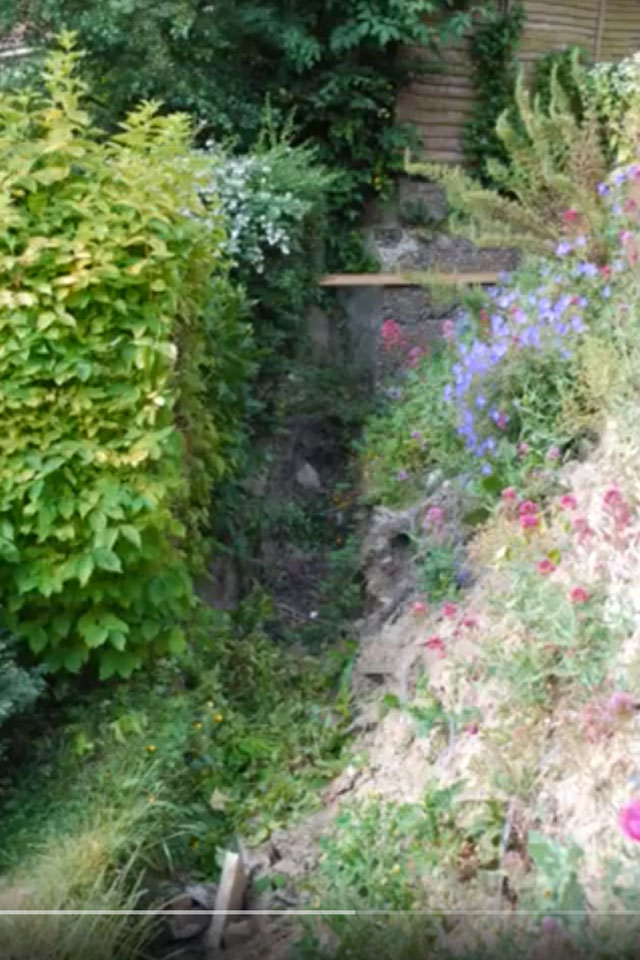
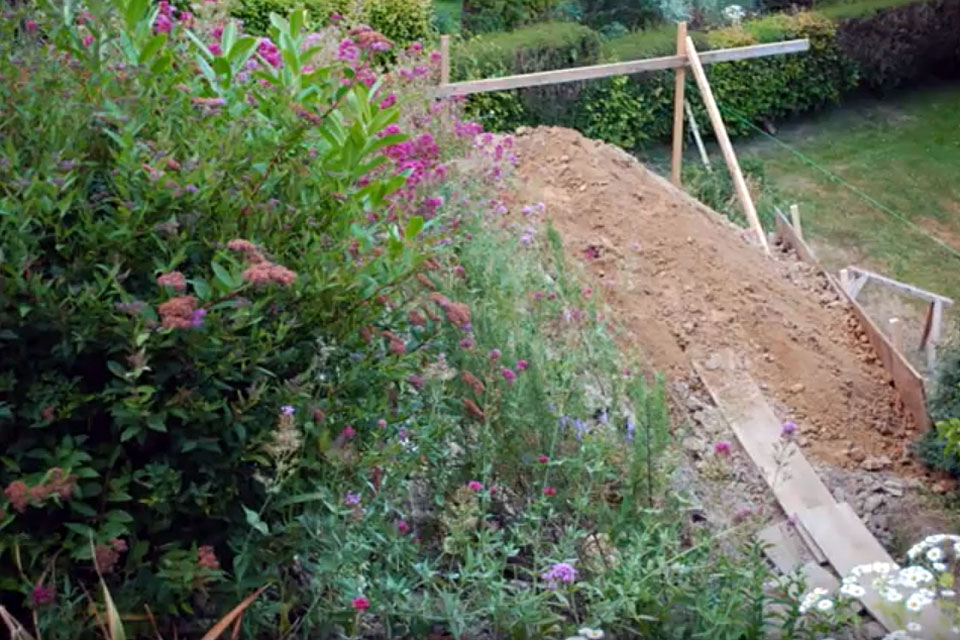
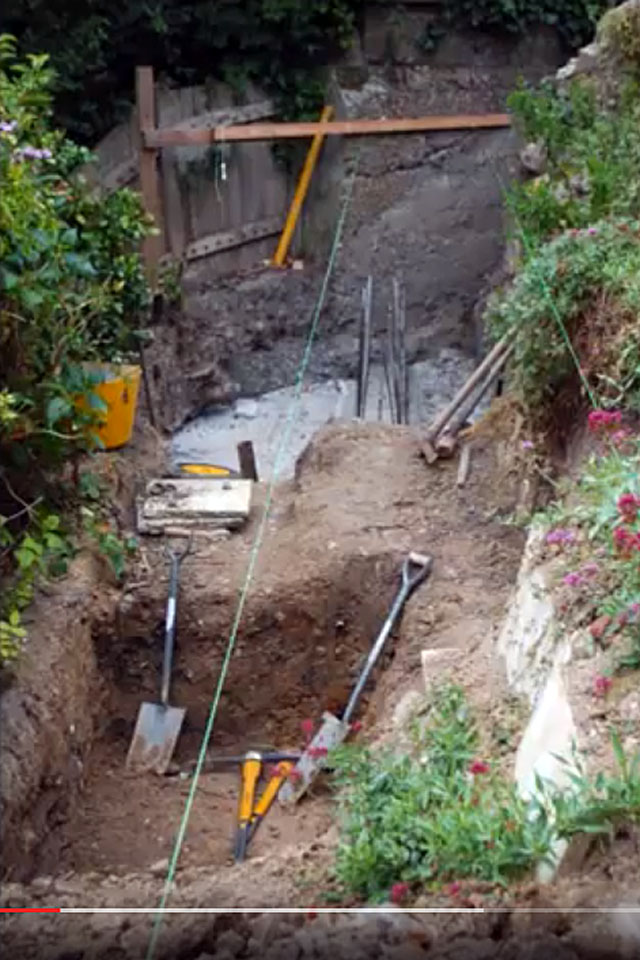
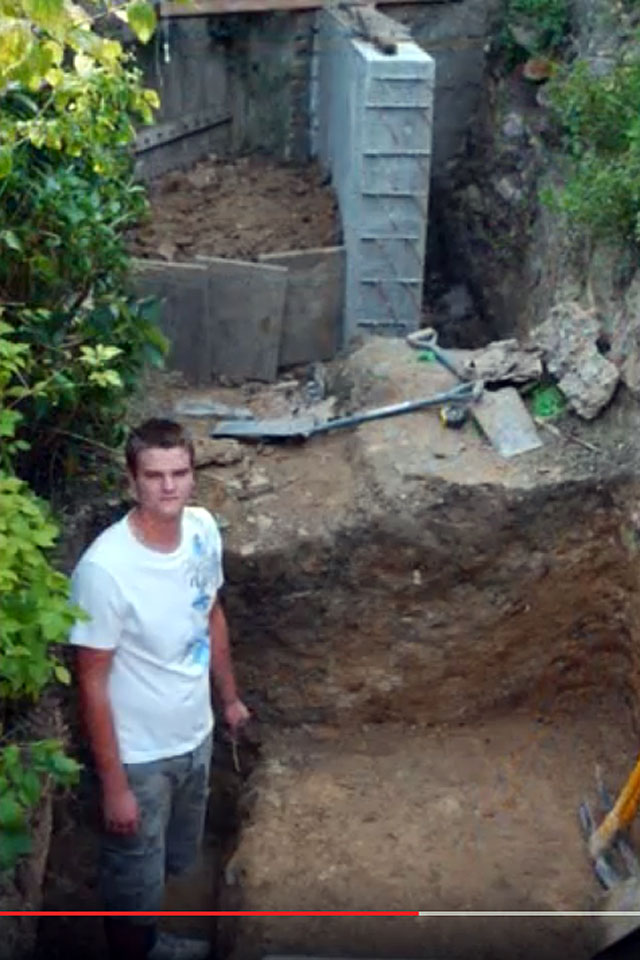
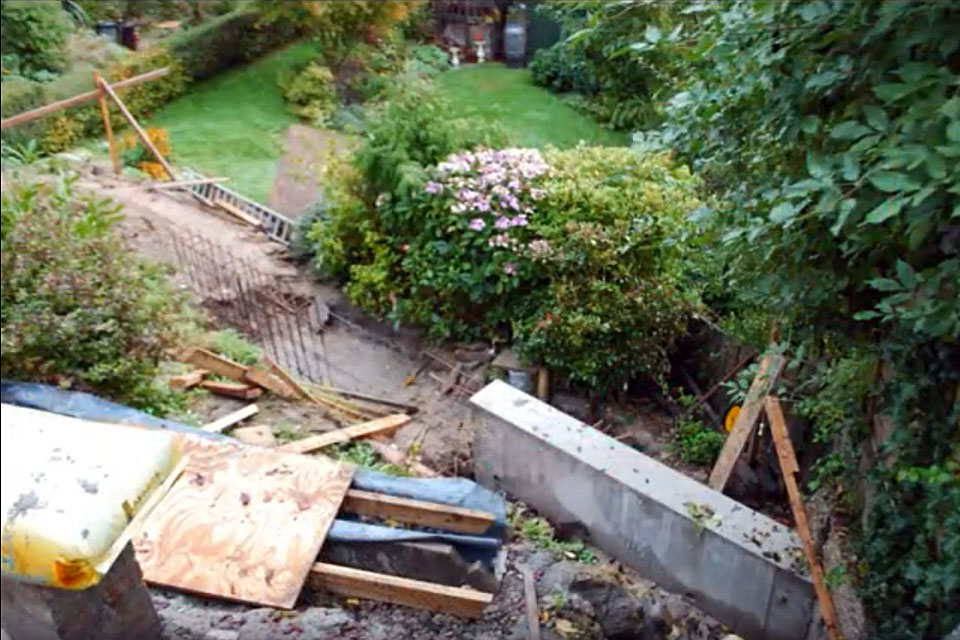
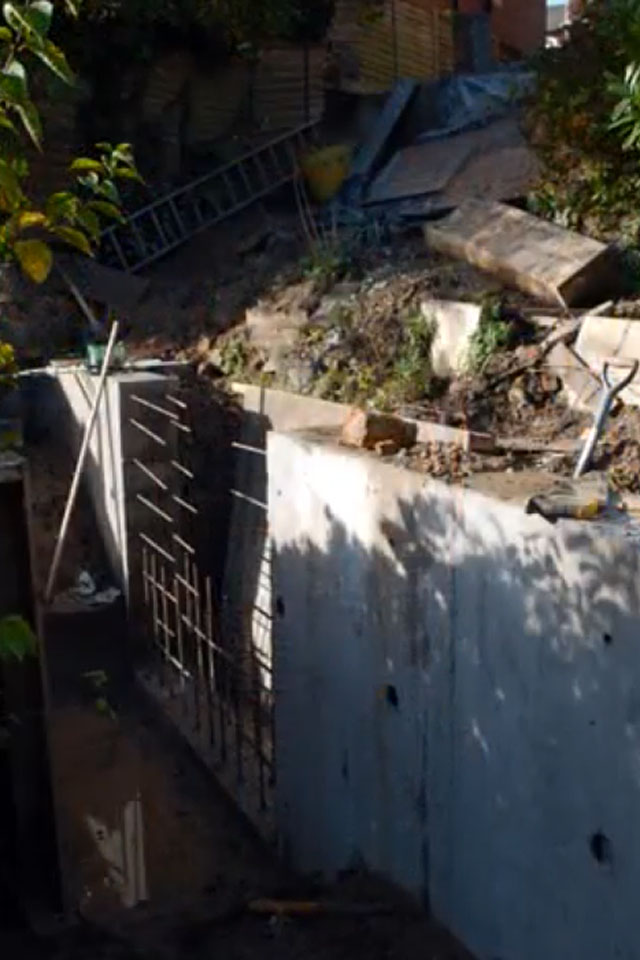
Shows the earlier attempt at retaining walls prior to becoming aware of the Retaining Walls Act; the engineer highlighted the fact this continuous excavation could increase the risk of land slip.
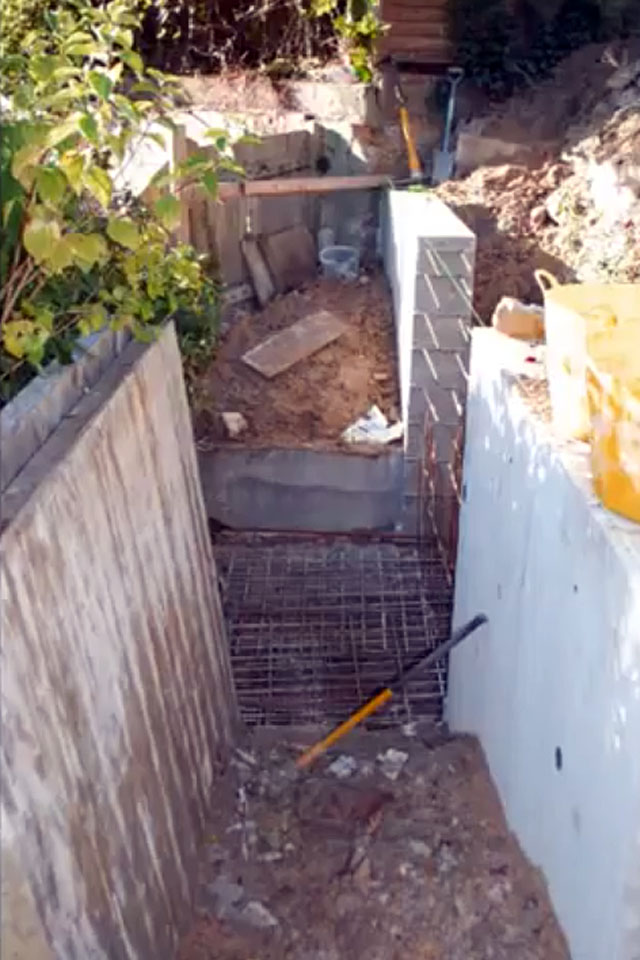
Shows the string line set to the far side of the wall.

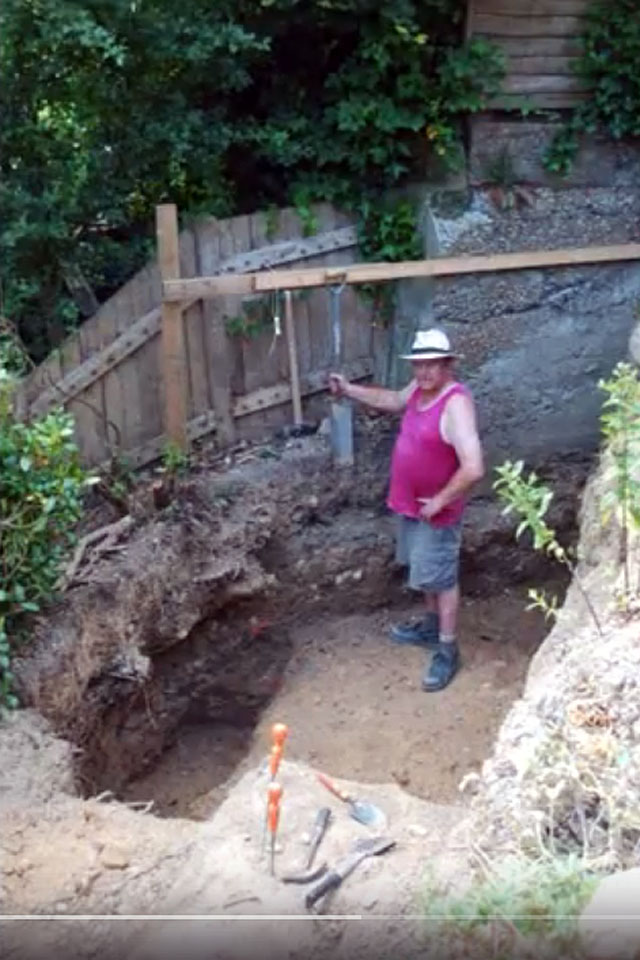
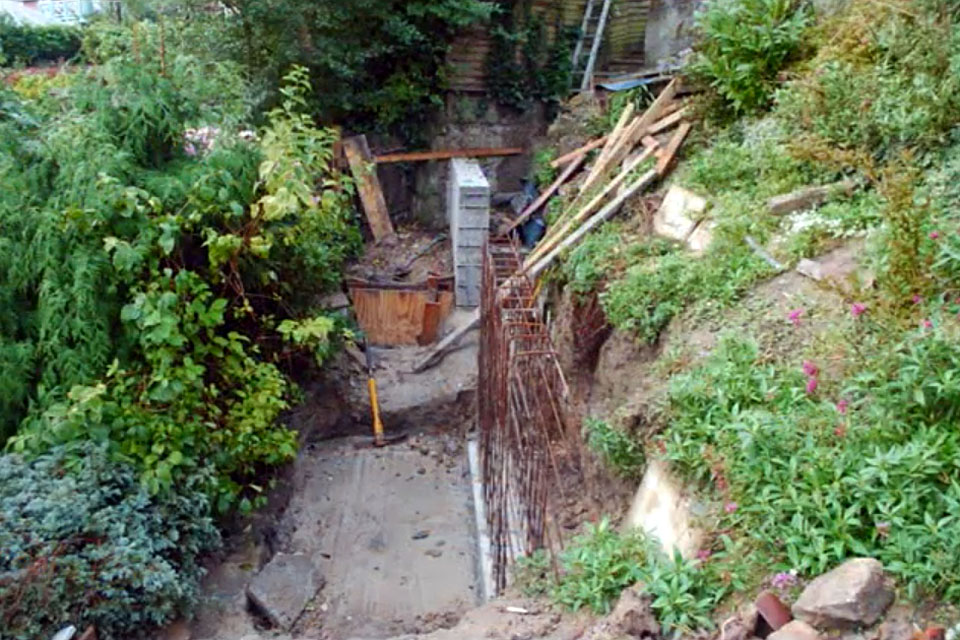
The start of excavations for wall C
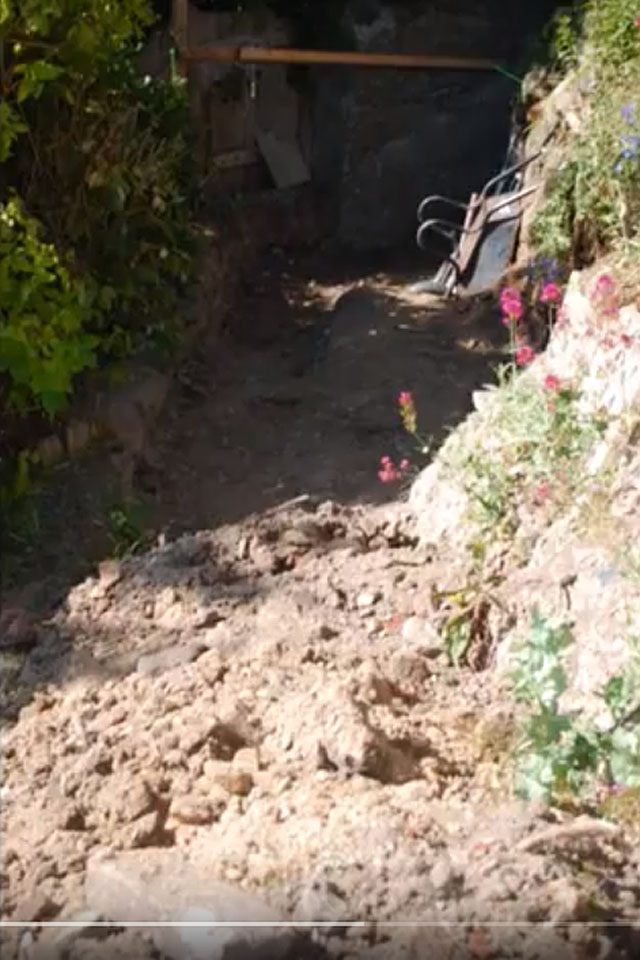
Gives an idea of how hard the ground is here. To aid progress I invested in a spade graft (pictured) and pick axe as nothing else would touch it.
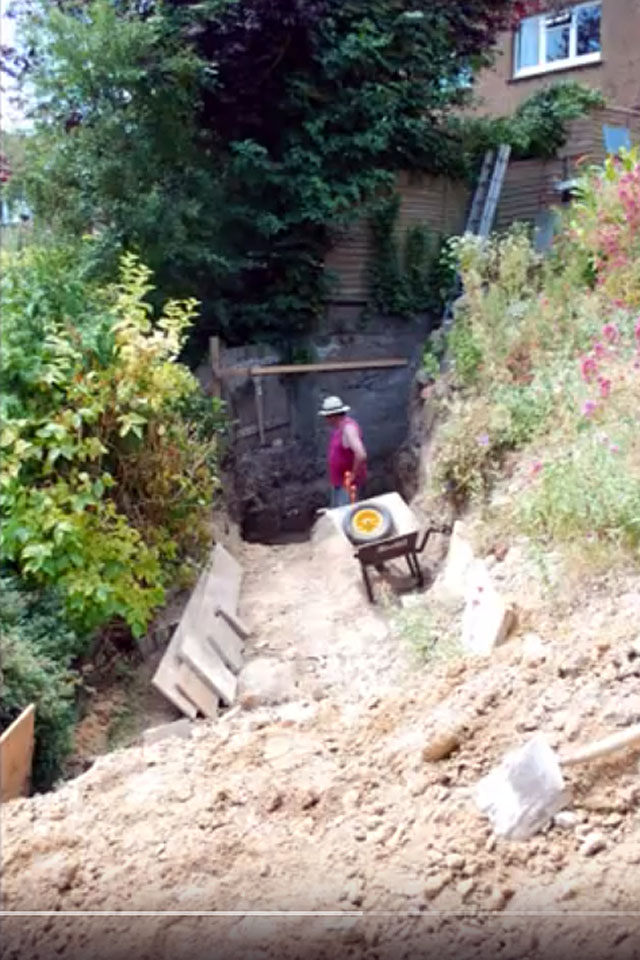
Where to place spoils, without space it has to be moved around several times.

The profile board is set 100mm above the top of pour for easy alignment.
The toe excavation is 7 metres below the datum point.

Shows the profile board set 100mm above the wall height. We now access the dig by ladder, the house is beginning to seem a long way above.
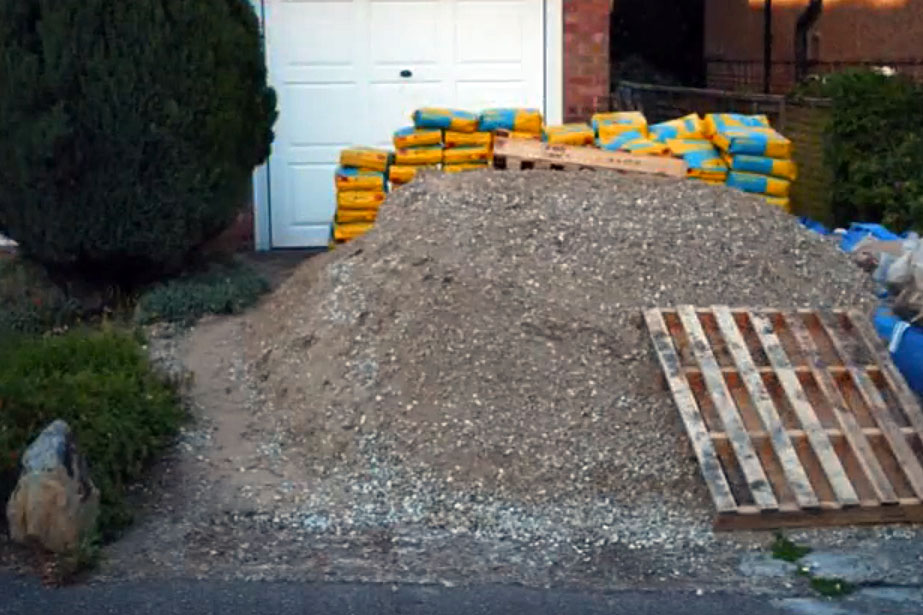
A typical delivery. 10 tonnes of ballast with 3.3 tonnes of cement a ratio of 3:1.
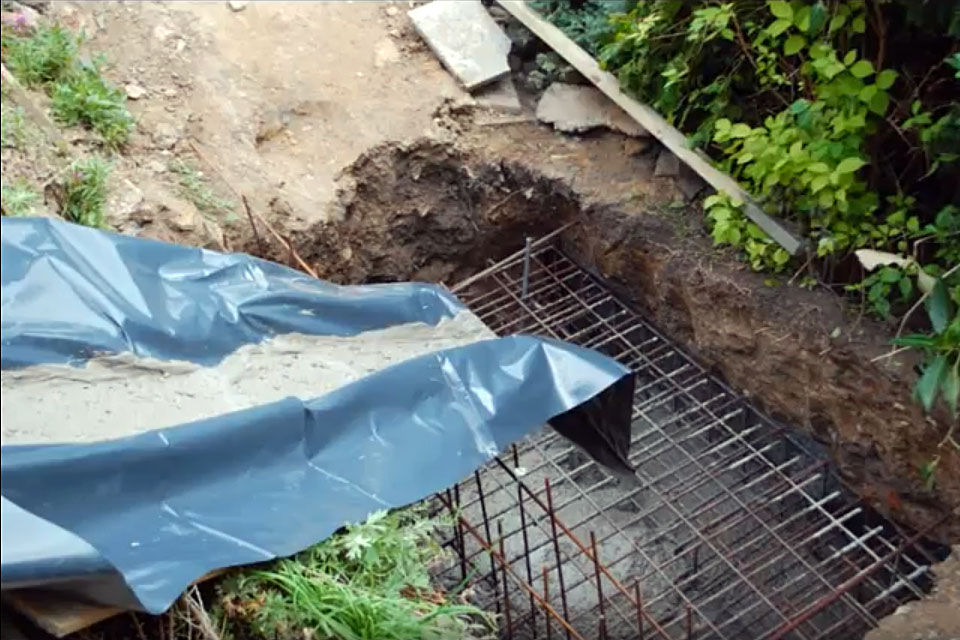
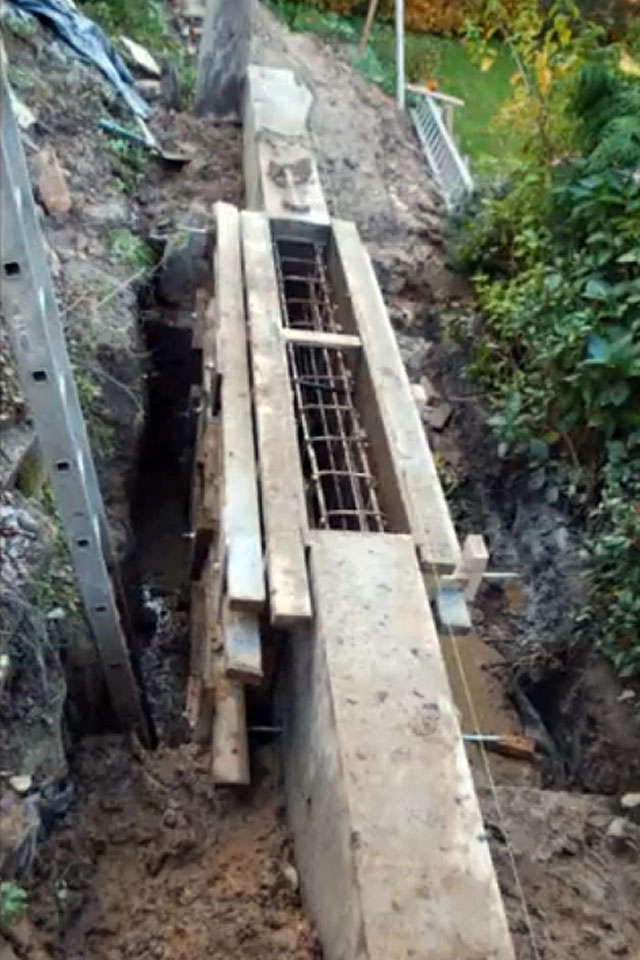
Two layers of mesh with starter bars for the stem wall, each sheet of mesh weighs 125 Kg so had to be cut to size prior to carrying to the rear.

The first slab poured leaving starter bars protruding ready for the vertical stem bars.

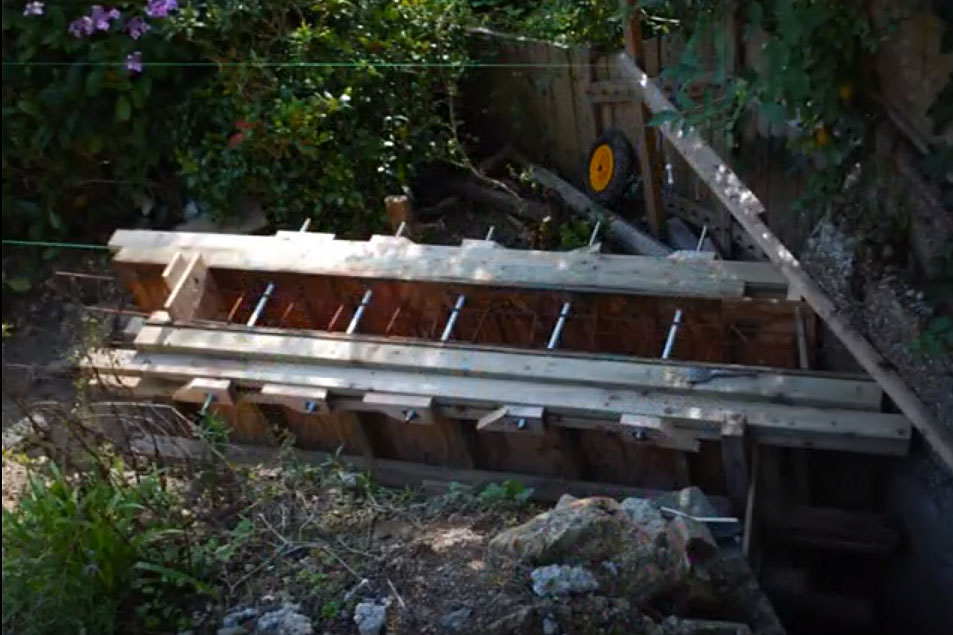
The shutter sides ready for positioning against the pre-cast kicker.
The shutters are connected with M16 stud in plastic conduit; the conduit will remain in the pour whilst allowing the removal and re-use of the stud.
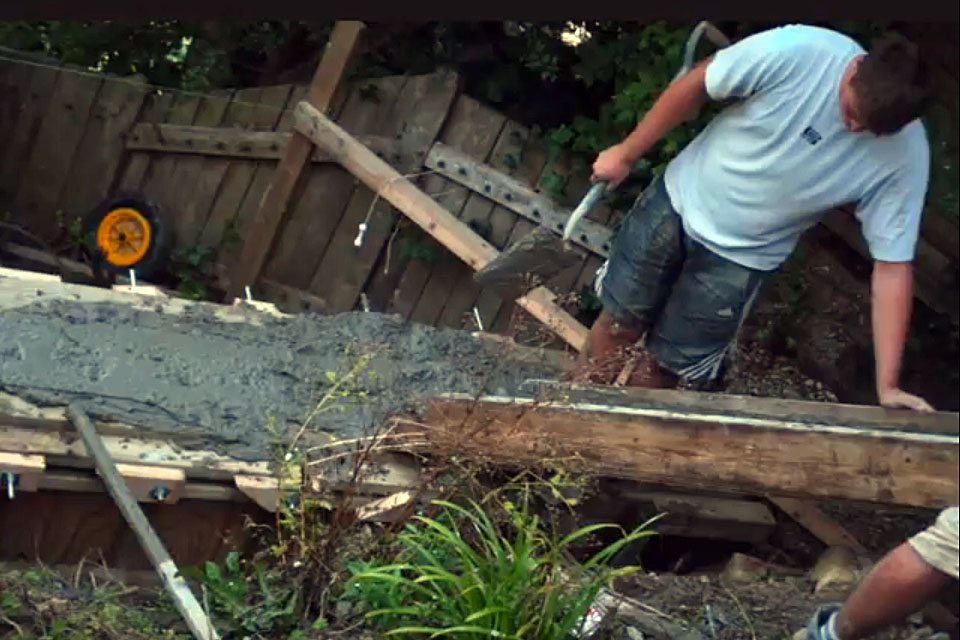
Mixed concrete is delivered via a wooden chute next to the mixer.
Shows the missed section isolated between.

Can’t be sure Matt is enjoying the experience…
More mesh and starter bars and my steel tying is improving.

We have progressed to pre-lining our chute with DPM to make pouring easier.
Pouring a drainage plinth to enable water to escape.
A view of progress from toward the top of the patio.
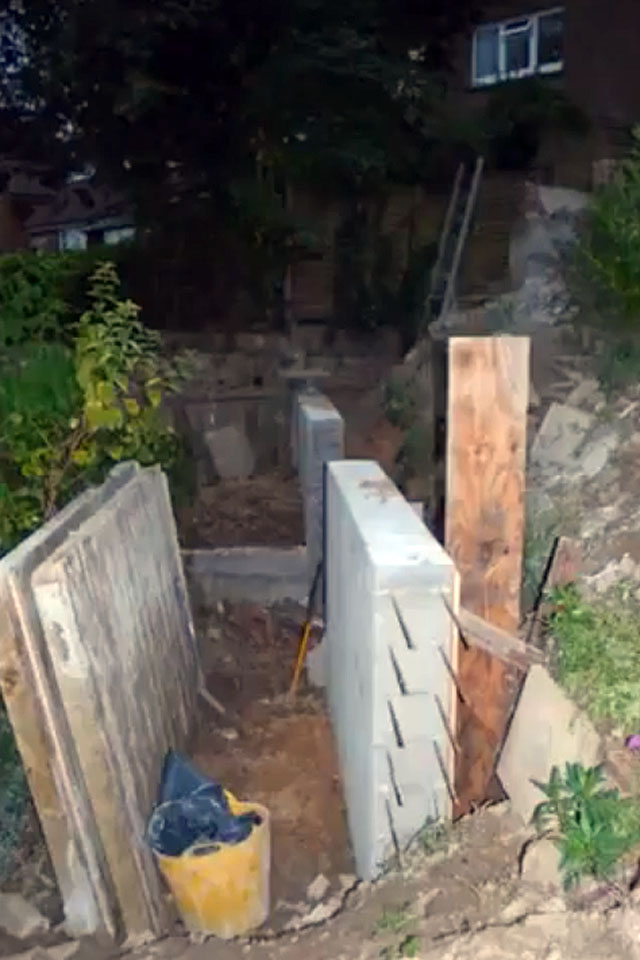
Below gives an idea of the minimal space available at the near/house side.
Matt takes a welcome break; his feet are 6 meters above the lowest section of wall C.

Preparation for the middle missed section, again space is limited.
Digging out the middle section surrounded by starter bars, plenty of cuts & bruises from this.
The middle missed slab now ready for pouring.
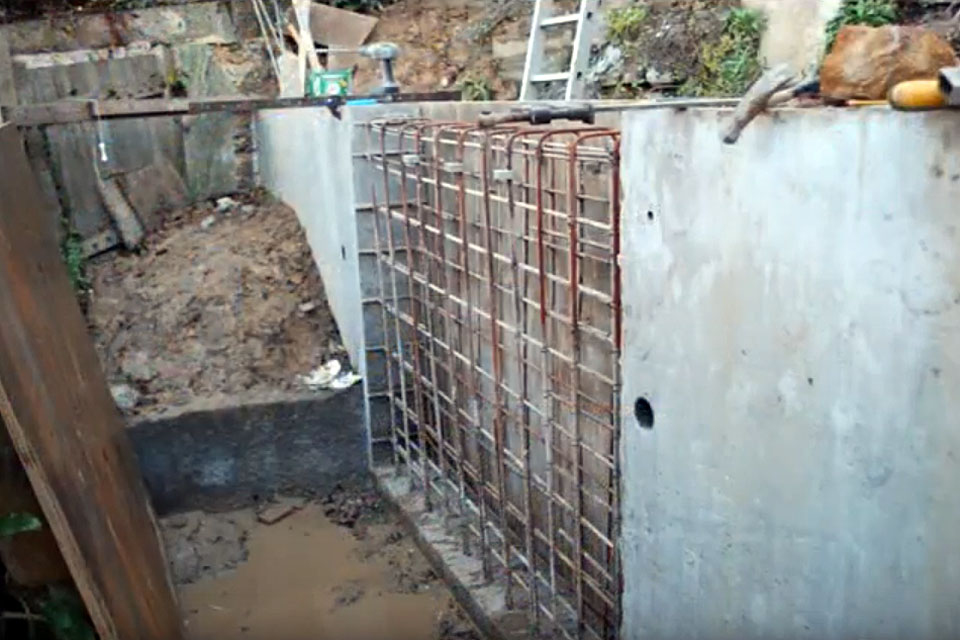
Below shows the starter bars with the kicker up-stand for locking the shutters.
The steel cage ready for its weep hole tubes to be positioned.
The final shutters are now in place ready to pour.

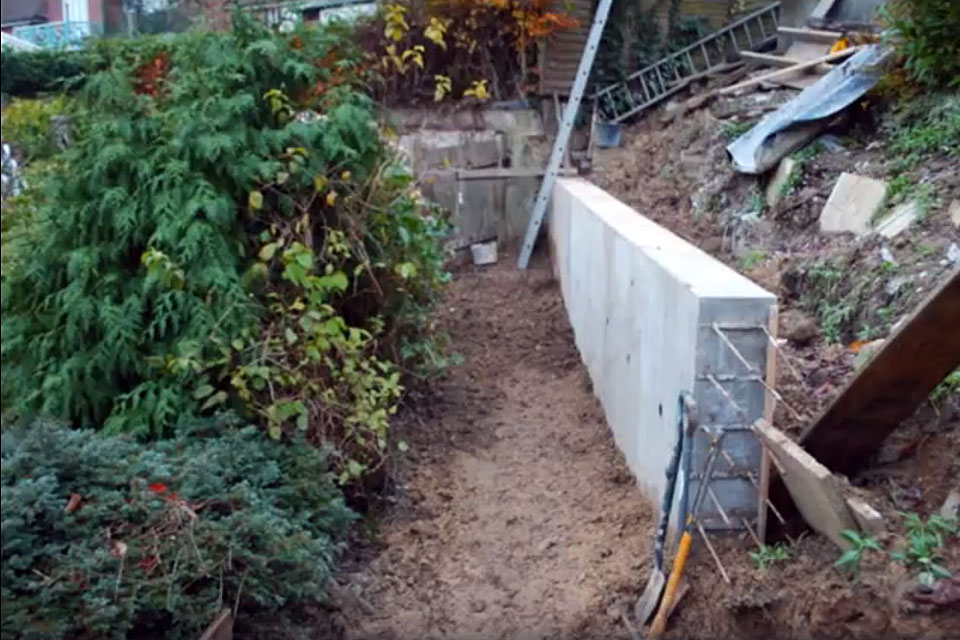
Wall C completed with back & front filling to get rid of spoils.

Below shows the extended chute and an idea of how far the concrete is poured, we are now ready for the start of wall B, notice appropriate starter bars projecting from the end section.